
Notice
Recent Posts
Recent Comments
Link
| 일 | 월 | 화 | 수 | 목 | 금 | 토 |
|---|---|---|---|---|---|---|
| 1 | 2 | 3 | 4 | 5 | ||
| 6 | 7 | 8 | 9 | 10 | 11 | 12 |
| 13 | 14 | 15 | 16 | 17 | 18 | 19 |
| 20 | 21 | 22 | 23 | 24 | 25 | 26 |
| 27 | 28 | 29 | 30 |
Tags
- linux
- NAT
- GNS3
- aws cloud shcool 8
- tftp
- ELB
- DNS
- vyos
- AWS
- aws iam
- Troubleshooting
- docker
- Firewall
- load balancer
- aws cloud
- aws cloud school
- vmware
- SAA-C03
- Kubernetes
- ALB
- 네트워크
- Ebs
- aws SAA-c03
- KUBECTL
- AWS 자격증
- aws saa
- EC2 인스턴스
- IAM
- FTP
- EC2
Archives
- Today
- Total
나의 공부기록
[React + Spring] 01. react와 Spring 연동 본문
🎃사용환경🎃
IDE : Intellij IDEA 2021.3.3
Database : PostgreSQL
Language : Spring Boot & React
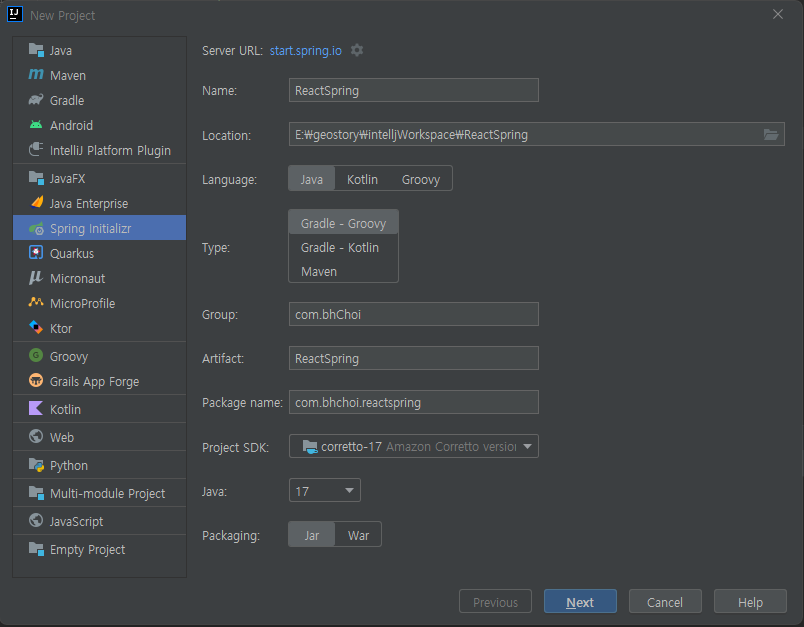
1️⃣ Spring 프로젝트 생성

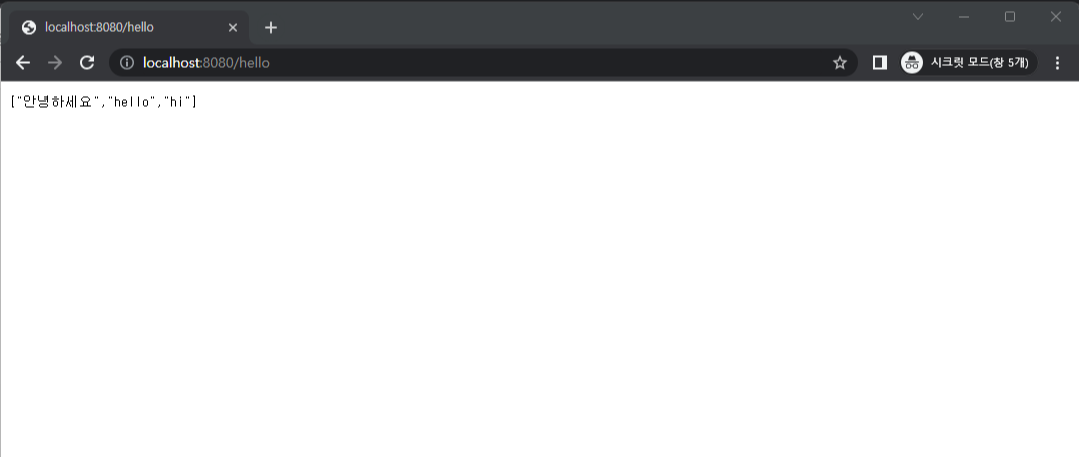
2️⃣ Spring Controller 만들기
package com.bhchoi.reactspring.Controller;

import org.springframework.web.bind.annotation.GetMapping;
import org.springframework.web.bind.annotation.RestController;

import java.util.Arrays;
import java.util.List;

@RestController
public class HelloWorldController {

    @GetMapping("hello")
    public List<String> hello(){
        return Arrays.asList("안녕하세요","hello","hi");
    }
}
3️⃣React 프로젝트 만들기
npx create-react-app frontend //프로젝트명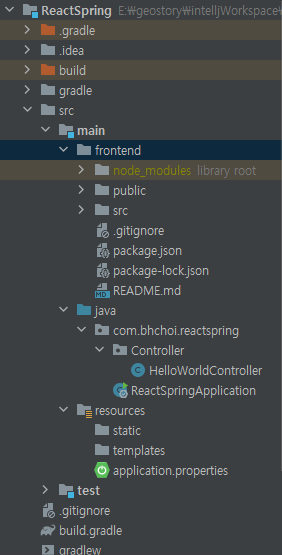
react 프로젝트를 생성하면 해당 프로젝트명 아래 node_modules파일과 public, src 파일 등이 생성됩니다. 해당 프로젝트를 시작하려면 npm start를 하면 됩니다.
단, 해당 react 프로젝트 경로로 이동하여 npm start를 해야 합니다.
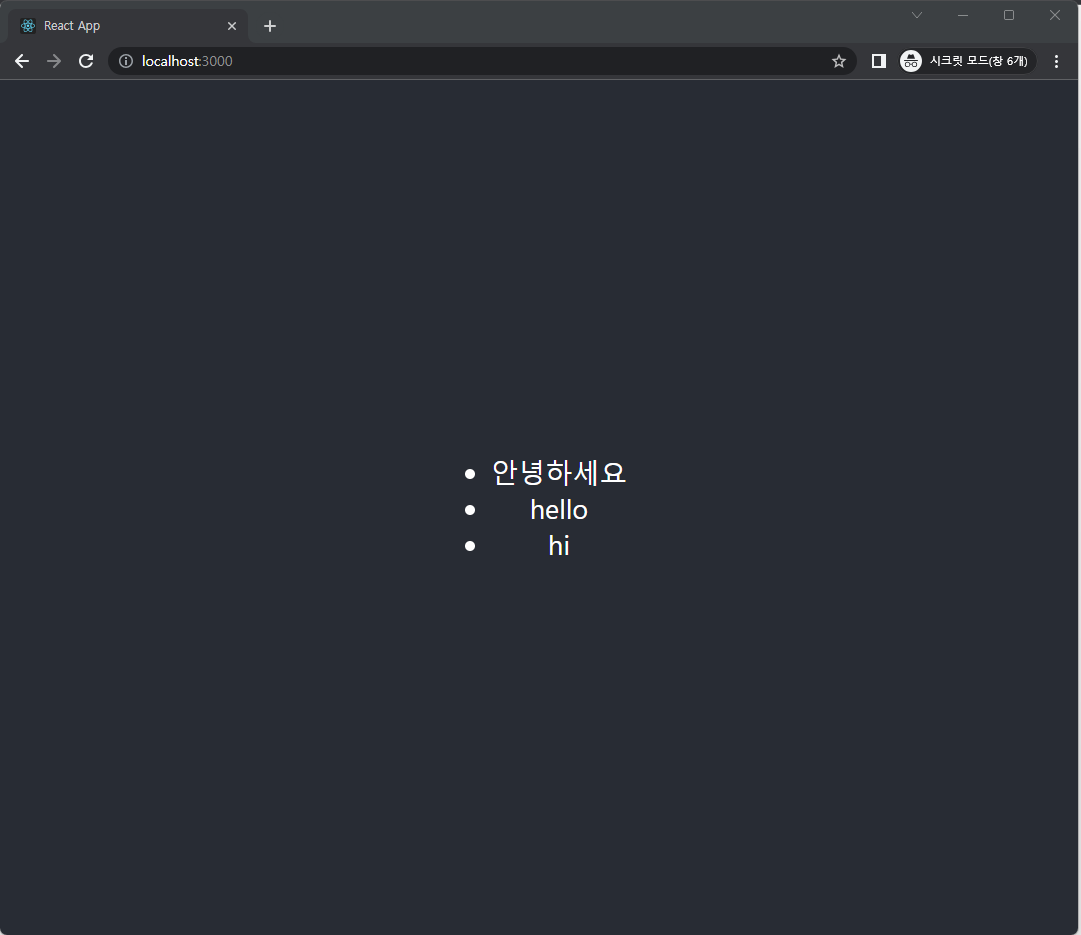
4️⃣React 화면에 Spring 데이터 출력하기
import './App.css';
import {useEffect, useState} from "react";

function App() {

  const [message, setMessage] = useState([]);

  useEffect(()=>{
    fetch("/hello")
        .then((response)=>{
          return response.json();
        })
        .then((data)=>{
            setMessage(data);
        });
  }, []);

  return (
    <div className="App">
      <header className="App-header">
        <ul>
            {message.map((contents, idx)=><li key={`${idx} - ${contents}`}>{contents}</li>)}
        </ul>
      </header>
    </div>
  );
}

export default App;